Media
Introduction
Qore.works Business comes default with Filament Spatie Media Library plugin. The plugin is build on top of the Spatie Laravel MediaLibrary. The plugin is extending the Filament File Upload.
Configuration
There is a default public and private disk. Those are automatically configured. If you would like to change the public disks to s3, you can add that to your config/filesystems.php:
'disks' => [
    's3_public' => [
        'driver' => 's3',
        'key' => env('AWS_ACCESS_KEY_ID'),
        'secret' => env('AWS_SECRET_ACCESS_KEY'),
        'region' => env('AWS_DEFAULT_REGION'),
        'bucket' => env('AWS_BUCKET'),
        'url' => env('AWS_URL'),
        'endpoint' => env('AWS_ENDPOINT'),
        'use_path_style_endpoint' => env('AWS_USE_PATH_STYLE_ENDPOINT', false),
        'visibility' => 'private',
        'throw' => false,
    ],
],
Change the default public disk with you environment:
FILAMENT_FILESYSTEM_DISK_PUBLIC=s3_publicNote; if you would like to change the disk on assets, that can be done per asset type.
Configuring S3 bucket on Amazone
We want to create a S3 bucket for our development local environment. First we need to create a policy.
- Create policy
First we create a new policy. You can use the following JSON to configure the policy at ease. Give it the name with suffix Policy, for example: DevelopmentQw-Policy.
Click to view the JSON policy example
{
    "Version": "2012-10-17",
    "Statement": [
        {
            "Effect": "Allow",
            "Action": [
                "acm:ListCertificates",
                "cloudfront:GetDistribution",
                "cloudfront:GetStreamingDistribution",
                "cloudfront:GetDistributionConfig",
                "cloudfront:ListDistributions",
                "cloudfront:ListCloudFrontOriginAccessIdentities",
                "cloudfront:CreateInvalidation",
                "cloudfront:GetInvalidation",
                "cloudfront:ListInvalidations",
                "elasticloadbalancing:DescribeLoadBalancers",
                "iam:ListServerCertificates",
                "sns:ListSubscriptionsByTopic",
                "sns:ListTopics",
                "waf:GetWebACL",
                "waf:ListWebACLs"
            ],
            "Resource": "*"
        },
        {
            "Effect": "Allow",
            "Action": [
                "s3:GetBucketLocation",
                "s3:ListAllMyBuckets"
            ],
            "Resource": "*"
        },
        {
            "Effect": "Allow",
            "Action": [
                "s3:ListBucket"
            ],
            "Resource": [
                "arn:aws:s3:::development.qw.local"
            ]
        },
        {
            "Effect": "Allow",
            "Action": [
                "s3:*"
            ],
            "Resource": [
                "arn:aws:s3:::development.qw.local/*"
            ]
        }
    ]
}- Create a user-group
Next we will create a new user group for the system. The group we give it a suffix with Group. For example: DevelopmentQwGroup. Attach the created policy DevelopmentQw-Policy to the group.
- Create user
Now that we have a policy and user group, we can create a new user. The user we will give a suffix of User. For example: DevelopmentQw-User. Attach the user to the new created group DevelopmentQwGroup.
- Create access key
View the created user DevelopmentQw-User and go to the tab Security credentials. There you can view and create a new access key. Create a new access key and select the use case: Third-party service. Store the newly generated access keys in Ncr.pt.
- Create bucket
Now we can create a new bucket for storing the media files. Give the bucket a unique name, for example: development.qw.local. Keep all settings as is:
- ACLs disabled
- Block all public access (file are accessed through own php scripts, so no public access is needed)
- Bucket Versioning: disable
- Server-side encryption with Amazon S3 managed keys
- Bucket Key: enable
Preparing model first
To associate media with a model, the model must implement the following interface and trait:
namespace App\Models;

use Illuminate\Database\Eloquent\Model;
use Spatie\MediaLibrary\HasMedia;
use Spatie\MediaLibrary\InteractsWithMedia;

class YourModel extends Model implements HasMedia
{
    use InteractsWithMedia;
}
Filament integration
To upload files in Filament, you can add the following:
use QoreWorksBusiness\QoreAdminBase\Fields\MediaFileUpload;

return [
    MediaFileUpload::make('media'),
],
By default all media will be stored on a private disk, but if you wish to change the disk, you can do it like this:
use QoreWorksBusiness\QoreAdminBase\Fields\MediaFileUpload;

return [
    MediaFileUpload::make('media')
        ->public(),
],
Default path structure
The path structure is default with some subfolders to prevent heavily load on viewing large directories. The first 2 characters of the uuid are used for the subfolders followed by the id of the media record.
Example:
uuid: b30b820f-4009-4102-9d23-efc81b052bbc
id: 7
calculated path: {uuid}/{id}/{filename}.{extension}
Calculated path: storage/app/private/media/b/3/7/01HGTJZ74VN6Y14R9XBGXYZ4AT.jpg
Delete or replace media
Default the media is being removed from the server and database when replaced or deleted.
Mimetype restrictions
use QoreWorksBusiness\QoreAdminBase\Fields\MediaFileUpload;

return [
    MediaFileUpload::make('media')
        ->image(),
],
Or if you need more control:
use QoreWorksBusiness\QoreAdminBase\Fields\MediaFileUpload;

return [
    MediaFileUpload::make('media')
        ->acceptedFileTypes([
            'application/pdf',
        ])
        ->openable();
],
Create thumbnails on uploading
On your model, specify the conversions you would like to do:
use Spatie\Image\Enums\Fit;
use Spatie\MediaLibrary\HasMedia;
use Spatie\MediaLibrary\InteractsWithMedia;
use Spatie\MediaLibrary\MediaCollections\Models\Media;

class YourModel extends Model implements HasMedia
{
    use InteractsWithMedia;

    public function registerMediaConversions(Media $media = null): void
    {
        $this
            ->addMediaConversion('thumb')
            ->fit(Fit::Crop, 300, 300)
            ->nonQueued();
    }
}
After that you can call the conversion on your field
use QoreWorksBusiness\QoreAdminBase\Fields\MediaFileUpload;

return [
    MediaFileUpload::make('media')
        ->image()
        ->conversion('thumb')
],
File will be stored with separate conversions:
storage/app/private/media/b/3/7/01HGTJZ74VN6Y14R9XBGXYZ4AT.jpg
storage/app/private/media/b/3/7/conversions/01HGTJZ74VN6Y14R9XBGXYZ4AT-thumb.jpg
Resize image on uploading
This can be done with the default Filament options.
use QoreWorksBusiness\QoreAdminBase\Fields\MediaFileUpload;
return [
MediaFileUpload::make('media')
->image()
->imageResizeMode('cover')
->imageCropAspectRatio('16:9')
->imageResizeTargetWidth('1920')
->imageResizeTargetHeight('1080')
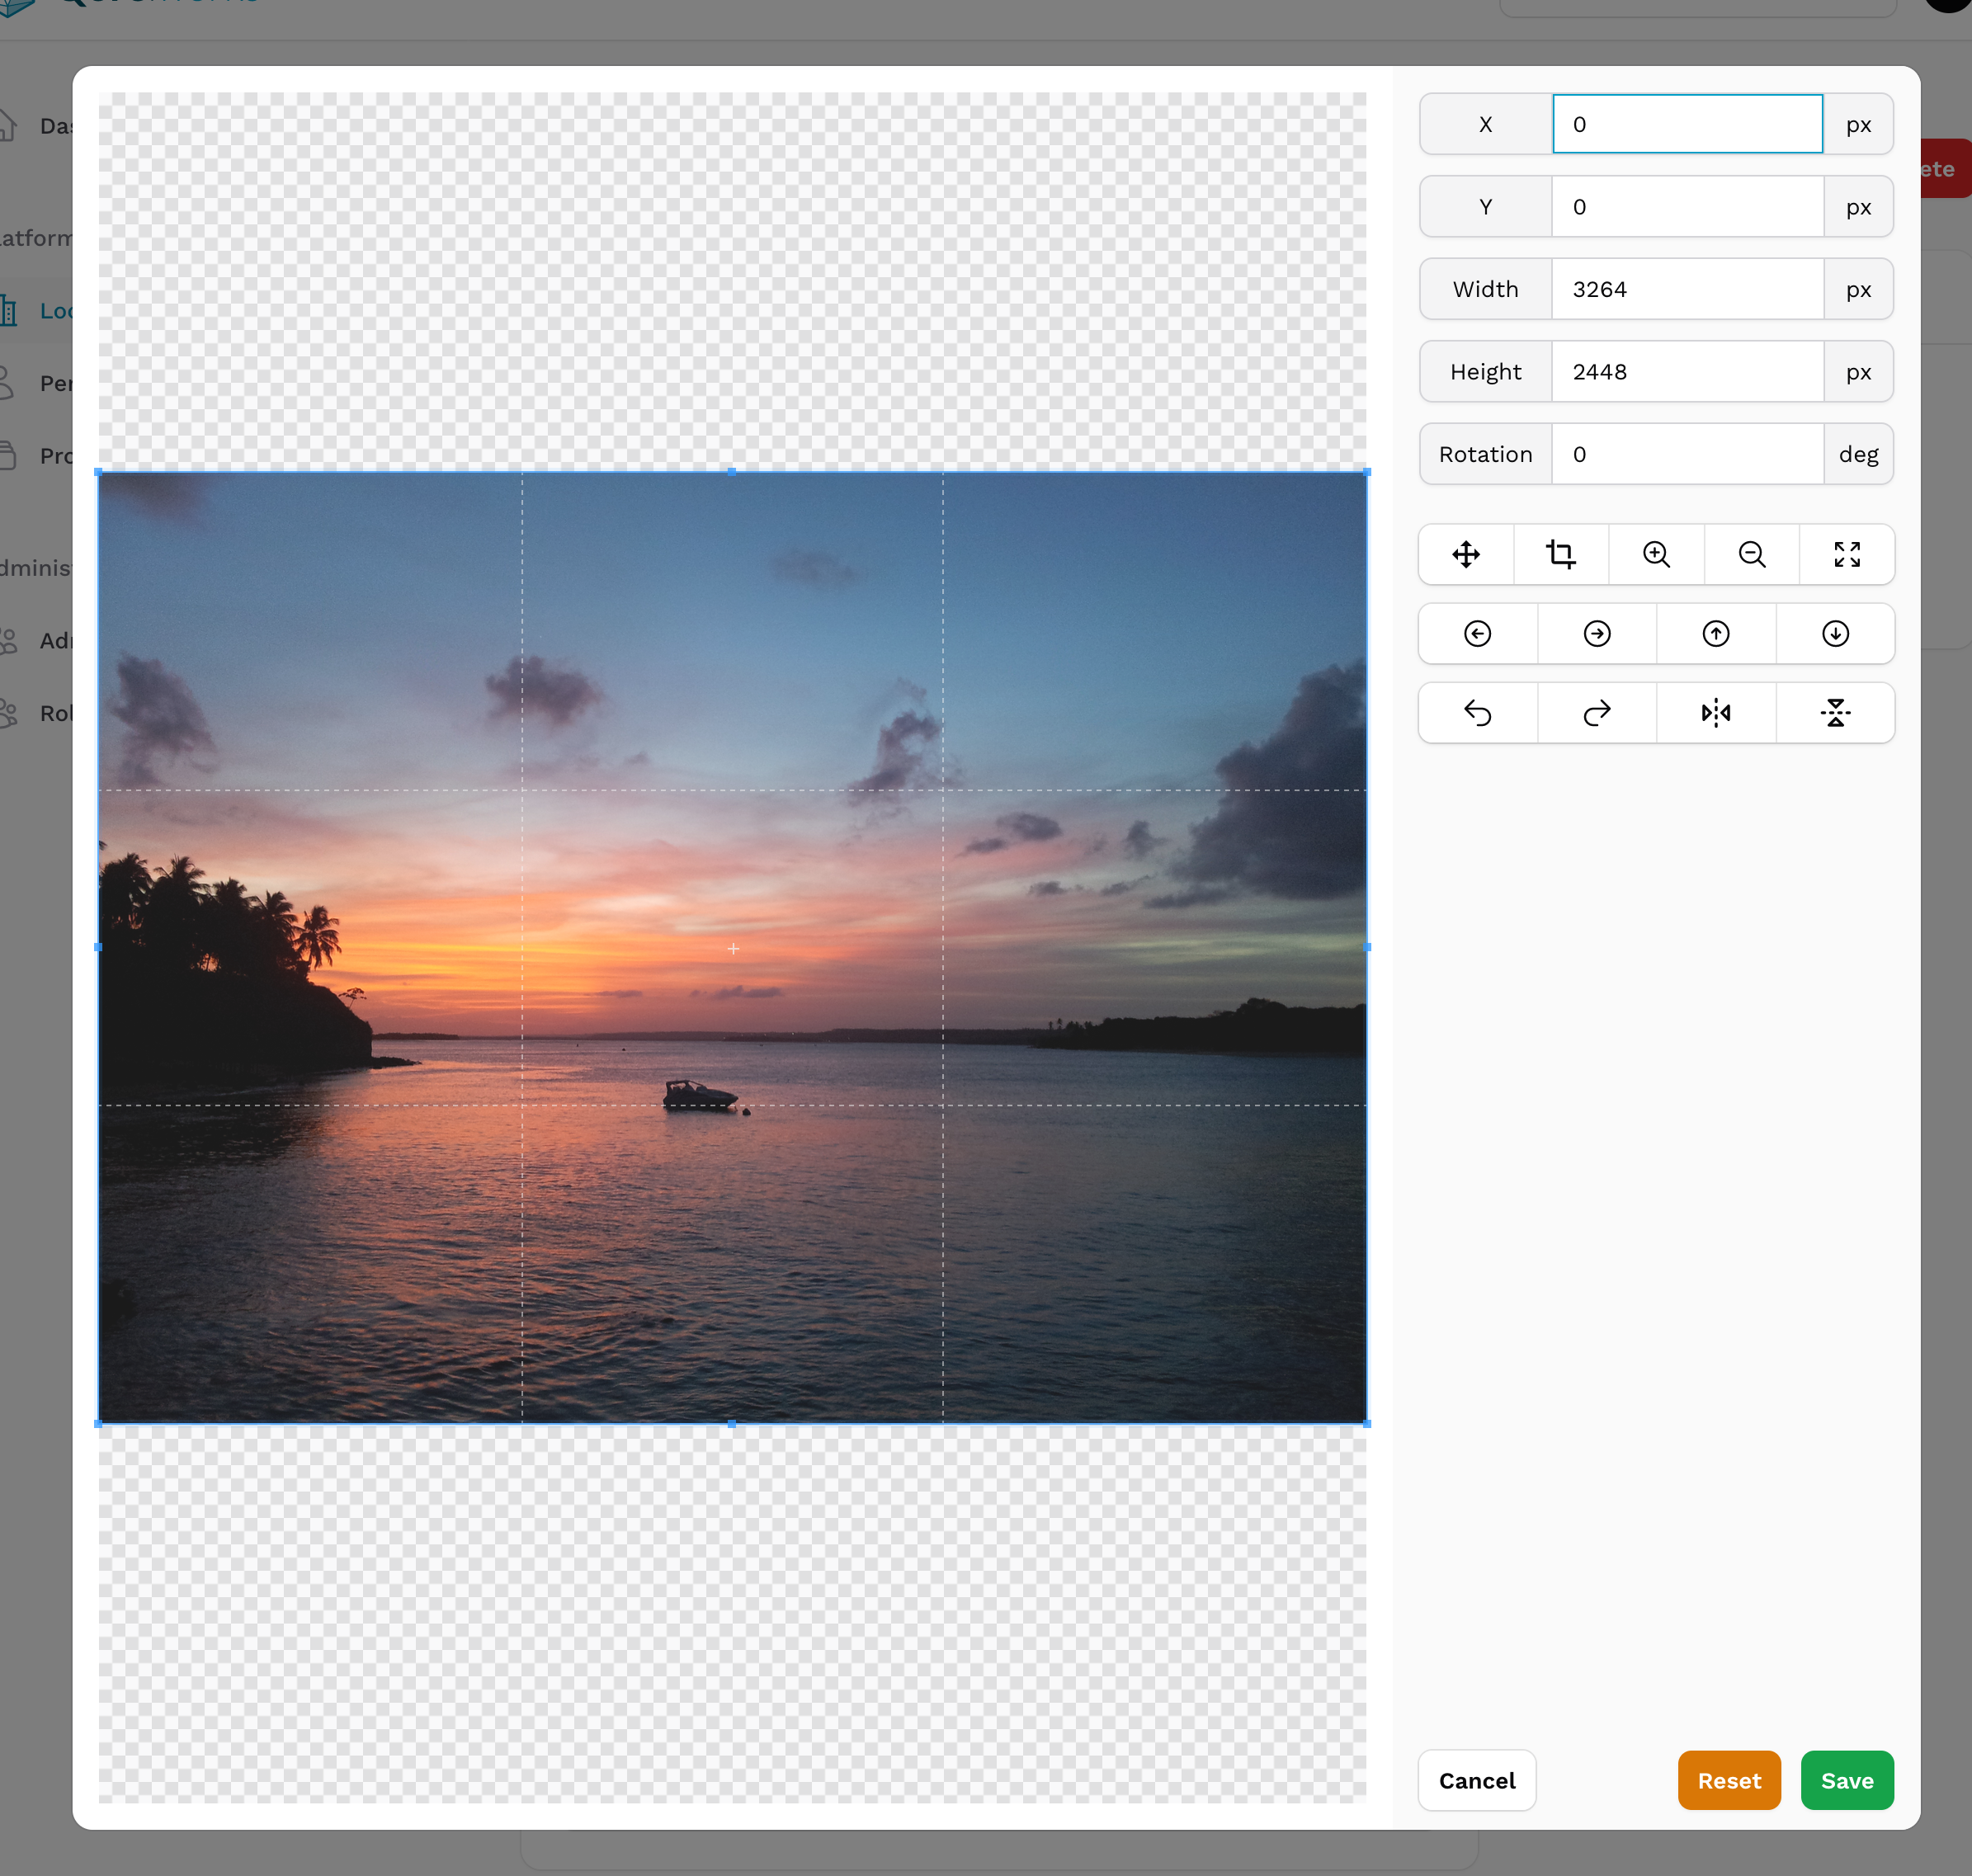
],Image editor for custom cropping or resizing
use QoreWorksBusiness\QoreAdminBase\Fields\MediaFileUpload;

return [
    MediaFileUpload::make('media')
        ->image()
        ->imageEditor(),
],
Get media url
When having the media model, it is easy to retrieve the url of the media.
$media->getUrl();This will return the url for public or private depending on the disk the media is linked to. For example:
public: /media/public/887c7bc6-db7e-414a-ad11-1b7059b734c4/20140303_173219.jpg
private: /media/65af7d23-bb7b-4f8c-9dc0-0fa6cb5232b9/20111117_170742.jpg?expires=1701876835&signature=e3217e8e88e5209017ff4a48f47c635b392dcb0e51bc2a59d4f7b9cb14eafe04
This is also possible for the conversions:
$media->getUrl('thumb');Display media inside blade
If your $media instance concerns an image, you can render it directly in a Blade view.
Here is the original image: {{ $media }}This will output an img tag with a src attribute that contains an url to the media.
You can also render an img to a conversion.
Here is the converted image: {{ $media->img('thumb') }}You can add extra attributes by calling attributes.
Here is the image with some attributes: {{ $media->img()->attributes(['class' => 'my-class']